Venom Model BPR Indicator V1.0 MT5 — Spot Balanced Price Ranges Like a Pro
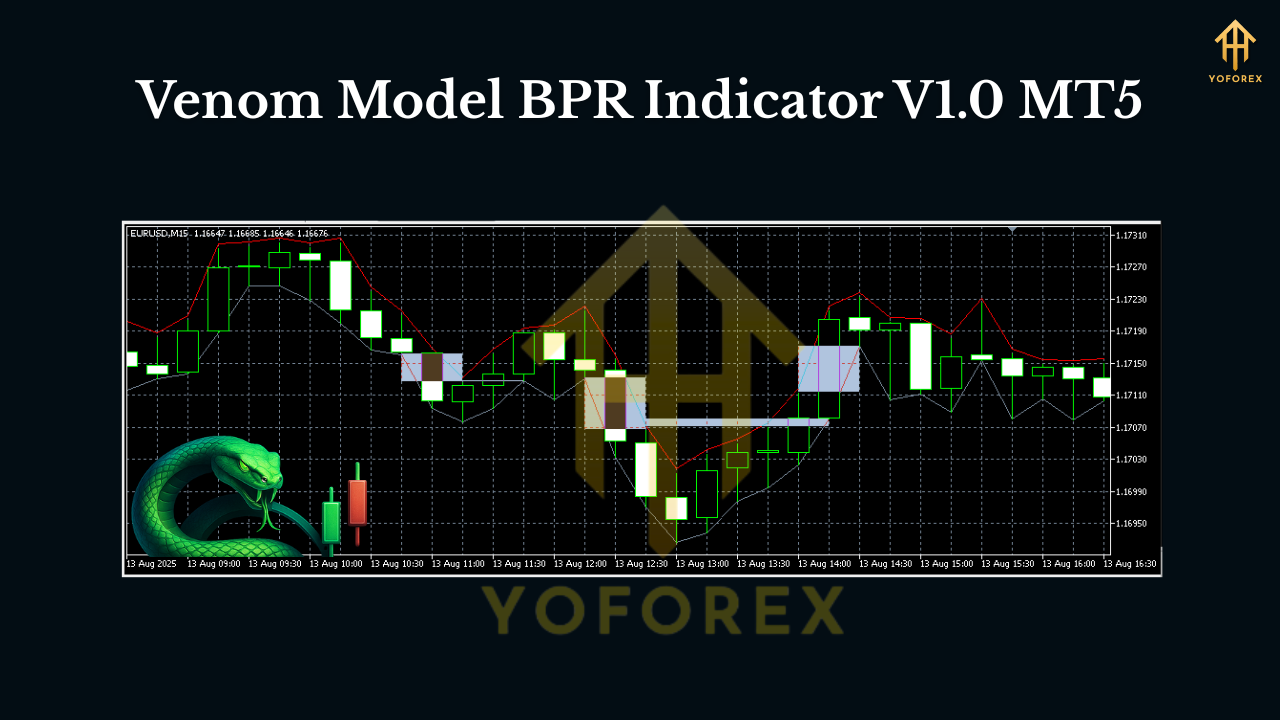
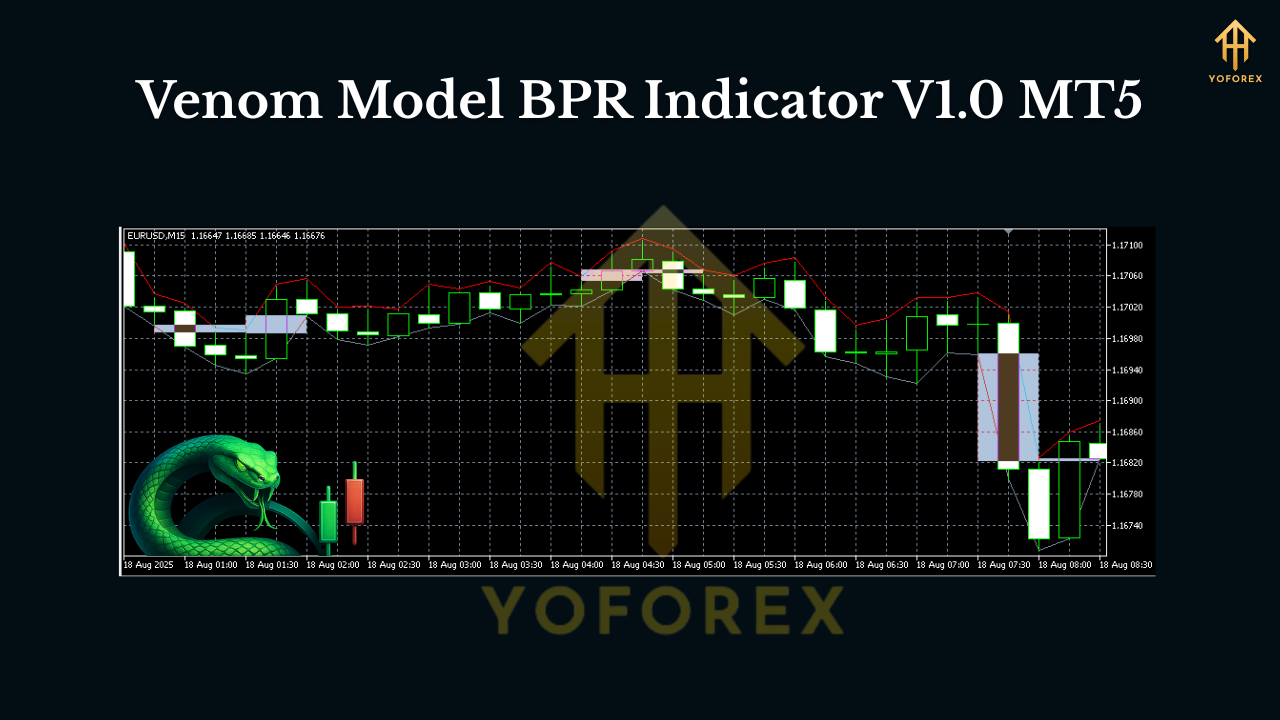
If you’ve been diving into ICT-style price action, you’ve probably heard the term BPR thrown around a lot. Balanced Price Range zones often act like magnets—price runs away, comes back to “balance,” and then continues. The Venom Model BPR Indicator V1.0 for MT5 is built precisely around that behavior. It automatically finds and plots potential BPR zones, highlights the most likely reaction areas, and gives you clean entries without chasing candles or guessing where to draw the box.
Below, I’ll break down what BPR means in practice, how the Venom Model scans for it, and how you can use the signals to structure your trades—entries, stops, and profit-taking—without drowning in analysis.
What is a BPR (Balanced Price Range)?
In ICT-inspired terms, a Balanced Price Range forms when strong displacement leaves behind an imbalance and then price revisits that region to “re-balance.” Traders often see this as a return to a fair-value zone inside the expansion leg. In real-time, that can look like:
- A strong push (bullish or bearish) leaves a footprint.
- Price retraces back into that footprint (the range where buy/sell pressure balanced out).
- That revisit often provides a high-probability continuation entry.
The Venom Model BPR Indicator automates detection of those footprints, draws the actionable zones, and keeps them updated as new price data arrives—so you can focus on execution.
Why Venom Model BPR on MT5?
There’s no shortage of supply–demand or FVG indicators out there. What sets Venom Model BPR apart is the smart confluence logic and the trade-ready visual cues. Instead of painting dozens of boxes that clutter your chart, it grades BPR zones by freshness, displacement quality, and structure fit (think break-of-structure or BOS alignment). The result? Fewer, better zones to plan around.
You’ll love it if you:
- Prefer clear continuation or reversal areas instead of constant noise.
- Want an MT5-native tool with light CPU load and MTF scanning.
- Trade sessions like London/NY and want optional kill-zone filters.
- Combine price action with alerts (push, email, pop-up) for timely entries.
Key Features
- Automatic BPR Detection: Finds balanced price ranges after impulsive moves and plots them as clearly defined zones.
- Smart Grading System: Filters zones by displacement strength, wick/close quality, and market structure context.
- Multi-Timeframe Scanner (MTF): See H1/H4 BPRs while trading M5–M15 for tighter entries.
- Session & Kill-Zone Filter: Optionally show signals only during London/NY windows for higher quality opportunities.
- Alert Suite: Real-time push, email, and pop-up alerts when price taps a BPR or when a zone is freshly minted.
- Retest Recognition: Distinguishes first touch vs. later touches—so you can prioritize fresh zones.
- Directional Bias Overlay: Optional bias ribbon using higher-timeframe structure to reduce counter-trend traps.
- Clean Visuals: Color-coded bullish vs bearish BPRs with customizable opacity and border thickness.
- Buffer & Data Window Ready: Exposes key values for EA coders or strategy testers who want to automate entries.
- Lightweight & Stable: Optimized for low lag even on symbol scanners or lower timeframes.
How It Works (In Practice)
- Impulse Detection
The indicator looks for displacement candles (range, body size, and close location relative to the range), tagging when the market shows intent. - Balance Zone Mapping
From the impulse, it derives likely “balance” regions—where price is statistically prone to revisit before continuing. Think of these as “high-quality pullback boxes.” - Confluence Check
It checks recent structure shifts (BOS/CHOCH logic) and higher-timeframe bias. Zones aligned with bias get a higher quality score. - Live Updates & Alerts
As soon as price taps a plotted BPR, you can receive an alert. You decide whether to look for limit entries, confirmation candles, or wick-rejections—your style, your rules.
Suggested Trading Plan (Example)
- Timeframes: Spot bias on H1/H4, plan entries on M15, and refine on M5 if you like.
- Entry Ideas:
- Aggressive: Limit order at the 50%–70% of the BPR zone, stop beyond the zone.
- Conservative: Wait for a rejection candle or a micro BOS on M5 inside the zone.
- Stops & Targets:
- Stop goes just beyond the BPR box extremes (account for spread + a safety buffer).
- First target at recent swing or 1R; leave a runner to 2R–3R or next liquidity pool.
- Filters: Use session filter (London/NY) to avoid low-volatility whipsaws.
- Discipline: One to two quality trades per session beats ten “meh” trades. Always.
Inputs & Settings You’ll Actually Use
- Higher-TF Bias: Choose the timeframe for directional overlay (e.g., H1/H4).
- Displacement Sensitivity: Tighten or relax how strict the impulse detection is.
- Zone Freshness: Plot only first-touch zones or allow up to two retests.
- Session Filter: Toggle London/NY presets or set your custom hours.
- Alert Toggles: Enable for “new zone created,” “price tapped zone,” and “zone invalidated.”
- Visual Customization: Colors, box fill, border thickness, label size—all adjustable.
Pro tip: Start with defaults, journal 10–20 trades, then fine-tune sensitivity and freshness to your pair/timeframe.
Best Markets & When It Shines
The Venom Model BPR logic does well on majors (EURUSD, GBPUSD, USDJPY) and Gold (XAUUSD) due to frequent and clean displacements. Indices like US30/US100 also provide plenty of BPRs, but consider widening stops to account for bigger ranges. As for sessions, London Open through NY Lunch often produces the crispest moves.
Risk Management (Non-Negotiable)
No indicator “predicts” the future. What it does is organize the probability landscape. You still need:
- Fixed-risk per trade (e.g., 0.5–1% of equity).
- Maximum daily loss cap (example: 2–3%).
- Max trades per session (avoid overtrading—quality > quantity).
- Weekly review (screenshots + notes = faster improvement).
Pair Venom Model BPR with consistent sizing and you’ll remove the biggest killer of promising strategies: inconsistent risk.
Installation & Quick Start (MT5)
- Download & Copy the file into
MQL5/Indicators/inside your MT5 Data Folder. - Restart MT5 or refresh the Navigator panel.
- Attach to Chart on your preferred symbol (start with EURUSD or XAUUSD) and timeframe.
- Load a Preset or keep defaults; enable alerts and session filters if desired.
- Mark Your Levels: Watch for first taps back into highlighted BPRs, refine entries with your candle trigger or micro-structure shift.
Give it a few sessions to get familiar with the flow. The learning curve isn’t steep, but the nuance—like choosing between limit vs. confirmation entries—comes with screen time.
Tips & Best Practices
- Don’t chase price if you miss the first tap. Let the next setup come to you.
- Combine with Liquidity Maps: Equal highs/lows, previous day high/low, session highs/lows.
- Journal Every Trade: Tag reasons: “HTF aligned,” “first touch,” “kill-zone.”
- Refine by Pair: Some pairs prefer deeper pulls into BPR (e.g., GBP crosses). Adjust limit placement accordingly.
Final Word
The Venom Model BPR Indicator V1.0 MT5 isn’t trying to be a Swiss-army-knife; it’s specialized on a concept many discretionary traders already trust. It turns the BPR idea into a tradeable, repeatable plan: find the zone, wait for price to revisit, execute with discipline. If you’ve been wanting a clean way to systemize ICT-style rebalancing entries without clutter or constant redrawing, this one’s going to feel like home.
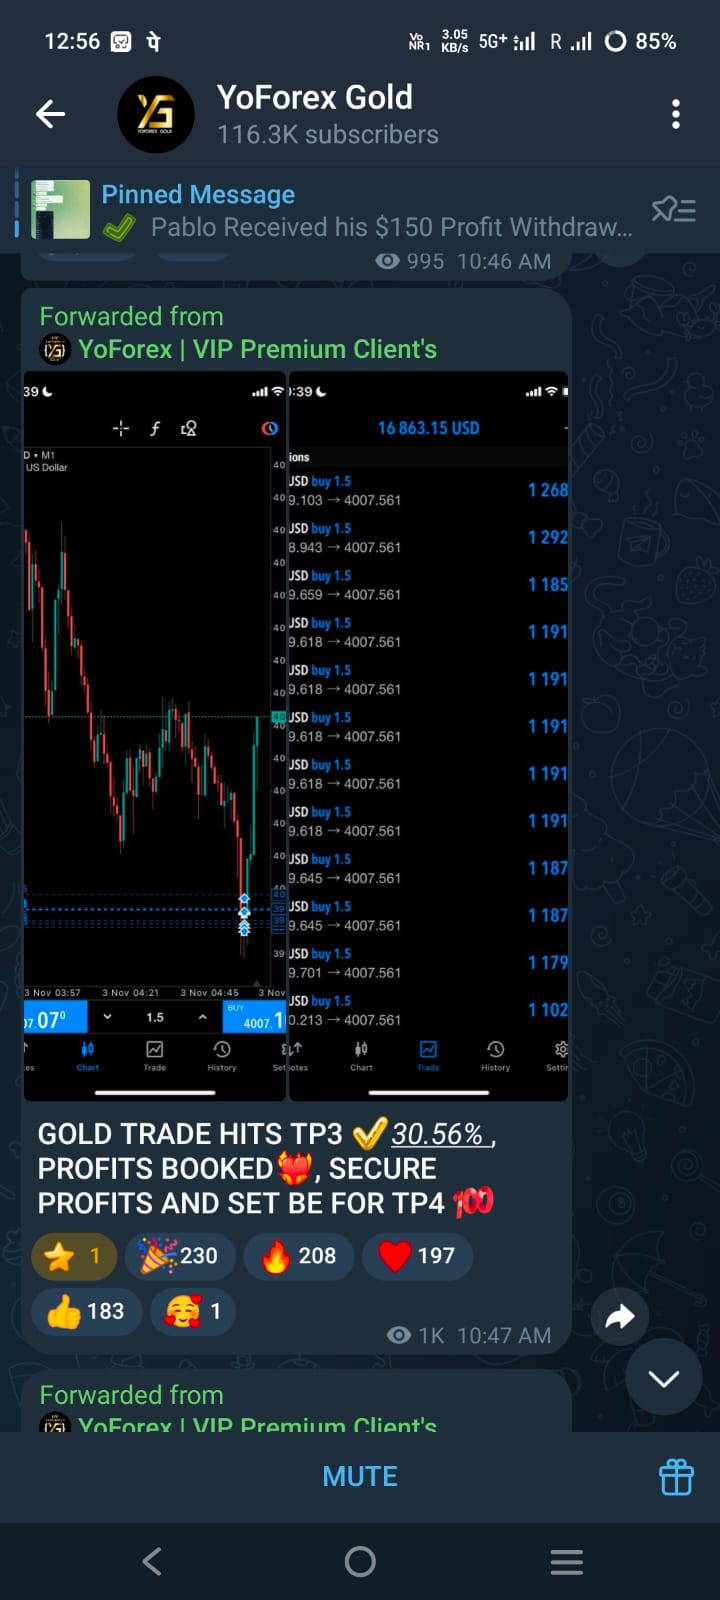
Join our Telegram for the latest updates and support


Comments (1)
Venture into the epic sandbox of EVE Online. Become a legend today. Trade alongside thousands of pilots worldwide. Begin your journey
Leave a Comment