This guide presents a complete, field-tested approach to getting the most from Eagle Scalper Indicator V1.0 on MetaTrader 4. Rather than relying on hype or vague claims, we focus on installation steps, parameter choices, market selection, a clear trading plan, and a rigorous validation pipeline. The result is a repeatable workflow you can follow from first launch to confident execution.
What Makes Eagle Scalper Different
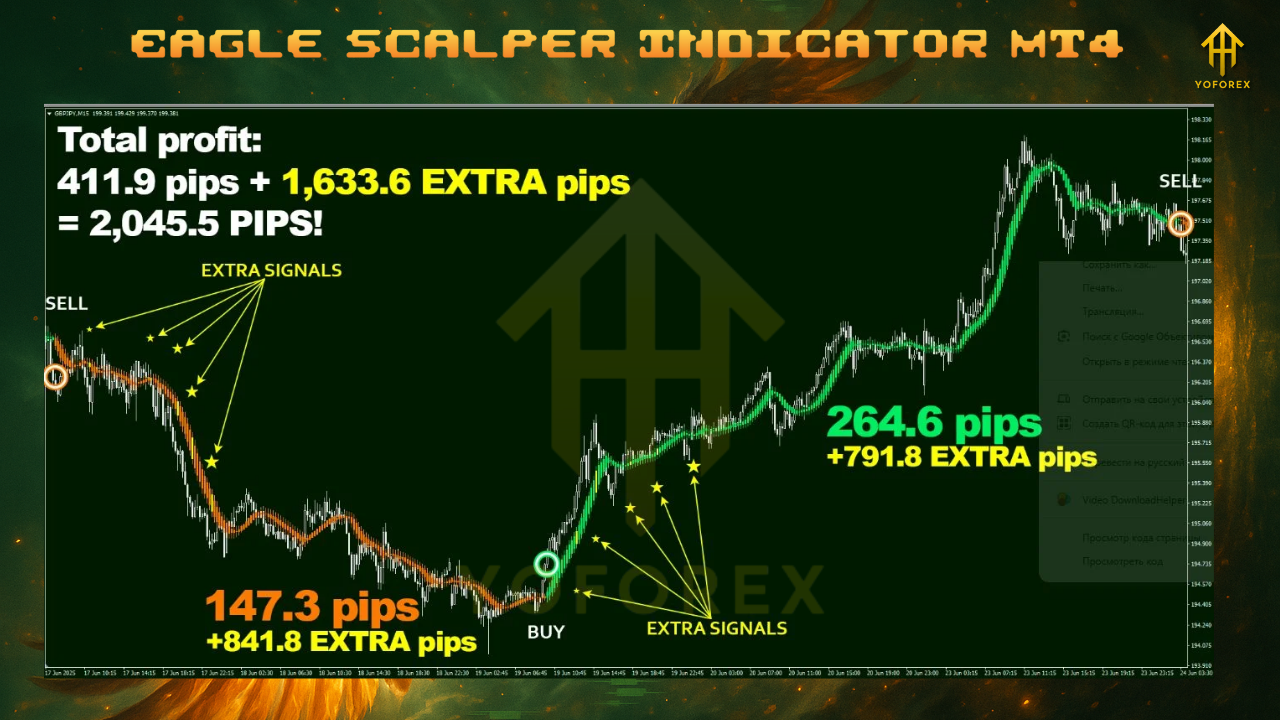
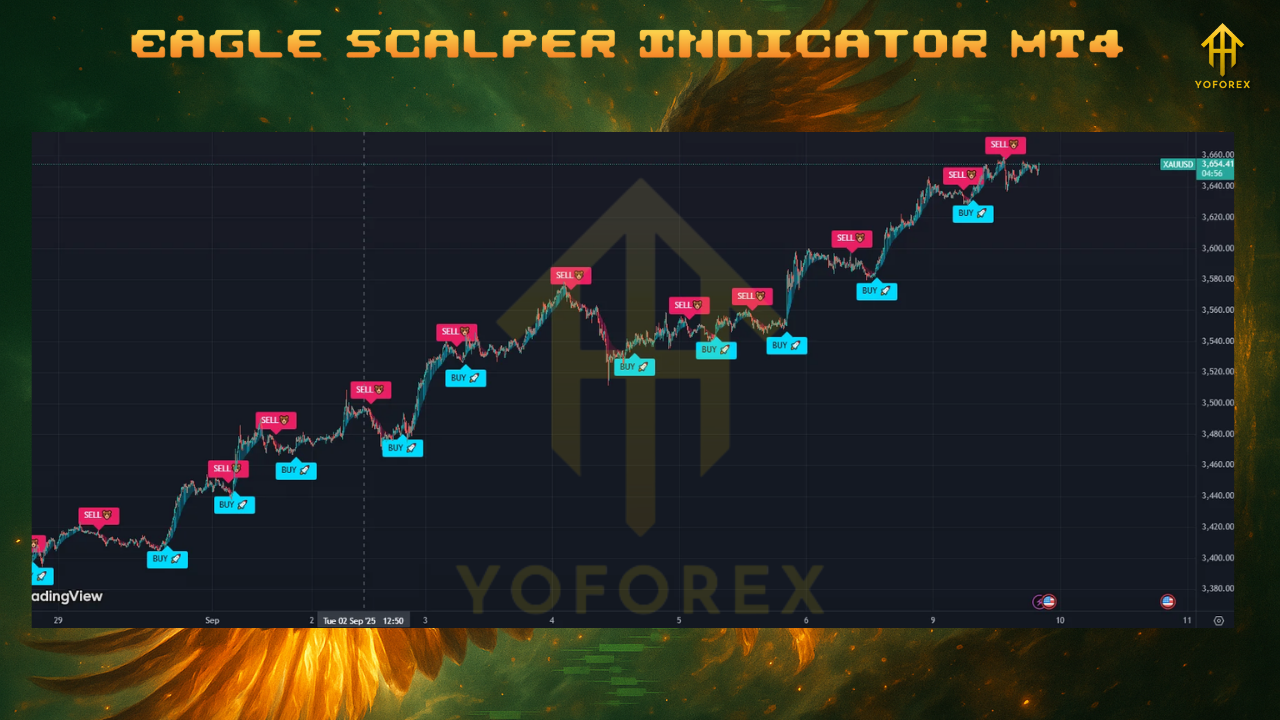
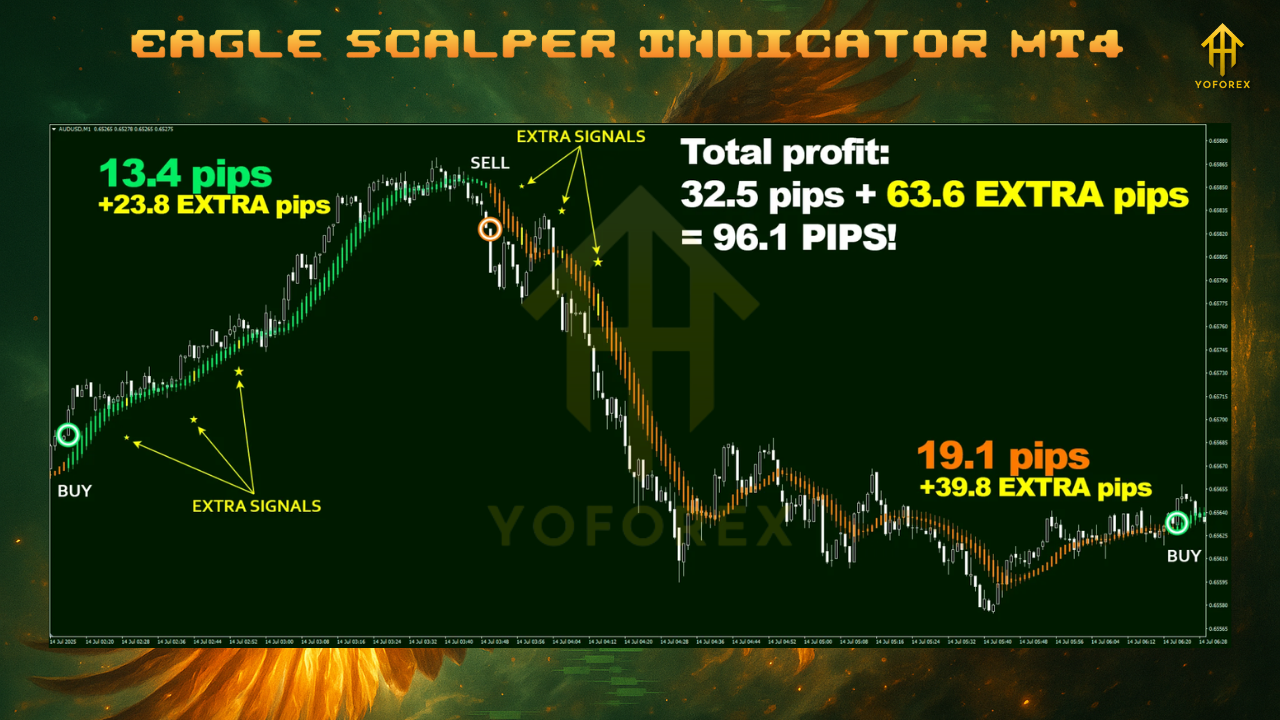
Eagle Scalper Indicator V1.0 is built for short-term momentum detection and trend continuation on lower timeframes. It attempts to identify the early part of a push after a brief pullback, allowing you to participate in directional moves without chasing. The framework is intentionally simple: wait for a qualified signal, confirm that the higher-timeframe bias supports it, and execute with predefined stop loss and profit targets. Because scalping amplifies the effects of spread and latency, the indicator works best during liquid sessions and on instruments with consistent depth.
Installation and First-Run Checklist
- Place the indicator file inside the MT4 data folder under MQL4/Indicators.
- Restart MT4 and attach Eagle Scalper to your chosen chart.
- Enable alerts you actually use (popup for desktop, push if you rely on mobile confirmations).
- Save your chart as a template once your parameters are set, so you can load a consistent workspace across pairs.
Baseline Parameters You Can Trust
While every trading environment differs, these starting points keep you conservative while you learn the tool’s behavior.
• Timeframe: M5 for core testing; expand to M1 only after you have stable metrics, and to M15 if you prefer lower noise.
• Markets: Major FX pairs and gold; choose two instruments first to avoid dilution.
• Signal Sensitivity: Medium; increase only after forward tests prove you avoid false triggers in chop.
• Extra Entries: Off during your first week; later allow at most two add-ons and only when the initial position is in profit.
• Alerting: On, with clear rules for what qualifies as an actionable signal.
• Session Focus: London, New York, and the overlap window; deprioritize thin liquidity periods.
A Structured Trading Plan That Prevents Overtrading
A scalping plan survives on clarity. The following rules keep the process objective and prevent improvisation mid-trade.
Entry Rules
• Trade with higher-timeframe alignment. For a long, require that M15 or H1 structure is bullish (higher swing highs and higher swing lows, or a rising moving average slope). For a short, ensure the opposite.
• Act only on closed-candle signals from Eagle Scalper. Do not enter mid-bar because the micro-structure on lower timeframes can change rapidly.
• Avoid congestion. If the market is oscillating in a tight box around prior day’s extremes, step aside until price accepts a direction.
Stop Loss and Take Profit
• Stop Loss: A practical starting point is 1.5× ATR(14) placed beyond the nearest micro-swing. This protects the trade from common intrabar fluctuations.
• Base Target: Aim for 1.2R to 1.8R. In scalping, frequent smaller wins often outperform infrequent large targets.
• Break-Even and Partial: Consider taking partial profit near +0.8R and moving the stop to break-even on the remainder, but only after the market moves decisively in your favor.
• Trailing: Optional. If you trail, keep it wider than the typical bar range on your timeframe to avoid being shaken out.
Position Sizing
• Start with 0.25% to 0.5% risk per trade.
• If you enable extra entries later, size add-ons smaller than the initial entry and never let total open risk exceed your predetermined cap.
Session Discipline
• Prioritize the first half of London and the start of New York, when momentum is most reliable.
• Do not force trades during low-energy periods; tracking spread and realized volatility will quickly show why patience pays.
Market Selection and Playbooks
A playbook is a document containing key behaviors for each instrument you trade. Build one for each market you select.
• Example for a major FX pair: record typical spread during active hours, mean ATR on M5, common fake-out structures around session opens, and the time window when trend continuation is most reliable.
• Example for gold: note the average impulse length on M5, likely reaction zones near round numbers, and how quickly spread can widen during data releases.
Data-Driven Validation: Backtest to Forward Test
The fastest way to build confidence is to prove your rules with data.
Backtesting
• Use MT4’s visual mode so you can see the indicator’s behavior candle by candle.
• Test at least three months on M5 for each chosen instrument, and supplement with a second timeframe to confirm robustness.
• Keep a consistent set of parameters. Changing settings mid-test corrupts the results.
Forward Testing (Demo)
• After backtesting, move to a demo environment for 15 to 30 trading sessions.
• Trade exactly the same rules you tested. Record date, time, symbol, spread, reason for entry, screenshots, and R-multiple outcome.
• Evaluate core metrics: win rate, average win size versus average loss, maximum drawdown, and profit factor. Stability matters more than peak returns.
Micro-Live Execution
• Begin with 0.1% to 0.25% risk per trade for the first few weeks.
• Monitor slippage and order-to-fill time. Adjust expectations for markets that move in bursts, where immediate follow-through is not guaranteed.
How to Use Extra Entries Without Compounding Risk
If you decide to activate extra entries, enforce constraints that keep risk controlled.
• Only add when the initial position is in profit and market structure remains aligned with your bias.
• Cap the number of add-ons and scale each one smaller than the previous.
• Maintain a non-negotiable maximum combined exposure, and never exceed it based on “gut feel.”
Avoiding Common Scalper Pitfalls
• Trading every alert. The purpose of higher-timeframe alignment is to filter noise; treat it as a requirement, not a suggestion.
• Ignoring spread. Many losing scalps come from attempting to trade when spread widens beyond your plan’s thresholds.
• Over-tight stops. Place stops beyond realistic noise. You can be directionally right and still lose if your stop is inside the normal bar range.
• No journal. Without a log of trades and annotated screenshots, it is impossible to diagnose issues or confirm improvements.
An Example Playbook: From Setup to Exit on M5
- Pre-session checklist: economic calendar reviewed, spreads within limits, charts clean with the indicator loaded, and a daily loss cap defined.
- Bias scan: mark higher-timeframe swing structure and identify where continuation is most probable.
- Trigger: wait for an Eagle Scalper signal in the direction of the bias on a closed candle.
- Risk placement: measure ATR(14) and set the stop beyond the last valid swing; size the position to your per-trade risk.
- Management: partial at +0.8R if volatility compresses; otherwise hold for the base target.
- Post-trade: record the result, capture final screenshots, and tag the trade with context labels such as trend day, range day, or news day.
When Not to Trade
Your edge depends on restraint. Do not trade when liquidity is thin, spreads are outside your limits, or price is trapped between clearly defined intraday shelves. The best scalps happen when price moves decisively from one area to the next; if the market is undecided, preserve your capital for a better window.
Building a Sustainable Process
A robust scalping process is more than signals. It is a sequence of habits: session timing, bias confirmation, execution discipline, risk containment, and a weekly review ritual. At the end of each week, summarize your trades, categorize your outcomes, and identify which conditions led to the cleanest follow-through. Tighten rules around those conditions and remove optional behaviors that add complexity without measurable benefit.
Final Thoughts
Eagle Scalper Indicator V1.0 can serve as a reliable intraday signal engine when paired with higher-timeframe alignment and strict risk controls. Start narrow with one or two instruments, gather a statistically meaningful sample of trades, and scale only after your metrics prove consistency. If you treat the indicator as a tool within a complete system, you will replace guesswork with a clear, repeatable routine.
Comments (2)
Eagle Scalper Indicator V1.0 send download files
Eagle Scalper Indicator V1.0 sir plz send download files
Leave a Comment